Fordson Dexta & Super Dexta Steering Repair
Fordson Dexta & Super Dexta Repair
A neighbour asked me to have a look at the steering on his Super Dexta which he described as “loose”. The reality was that the steering wheel was falling off (the fixing nut was loose) but everything just wobbled about.
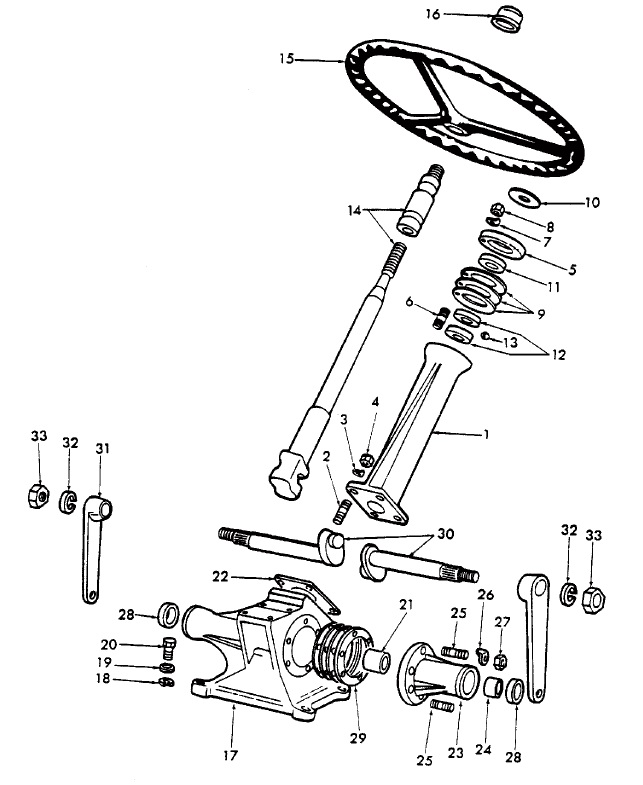
The Dexta steering box is quite unusual in that the steering wheel is fitted to a special nut which is held in bearings at the top of the steering column with the wheel fitted to splines and secured by a further nut (item 16 in the picture.)
The wheel turns the special nut and raises or lowers a shaft which moves the two drag arms.
While there can be wear in several places in this steering box, the problem on this tractor was primarily restricted to the special nut and the repair could be carried out with the steering box and fuel tank left in place on the tractor.
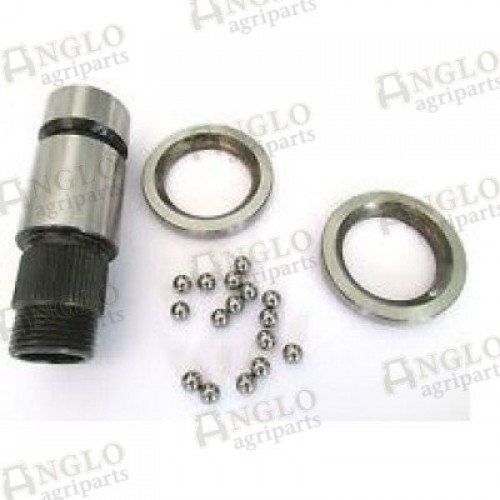
Anglo sells a kit of parts (A63169) to repair this problem.
The kit contains the special nut, top and bottom bearing seating rings plus 16 loose ball bearings.
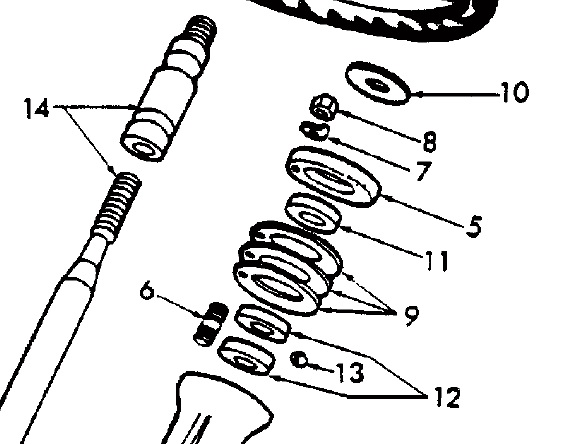
The normal parts list doesn’t identify the nut as a separate part, including the nut and shaft as a matched pair (item 14 in this picture) but aftermarket nuts as included in the Agro kit are now available.
The nut is held in place by loose ball bearings in a groove in the nut. The bearings (16 off of item 13) run between two seating rings (item 12.) The steering column top cap (item 5) bolts down to clamp the seating rings with the shims (item 9) adjusting clearance.
The repair is relatively straight forward.
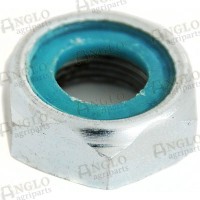
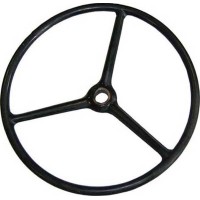
First remove the steering wheel nut (Anglo A68591) and washer then the steering wheel (Anglo A67383.)
The four screws holding the instrument panel are then removed. The two lamps are pushed into sockets in the back of the instrument panel so their holders simply pull out.
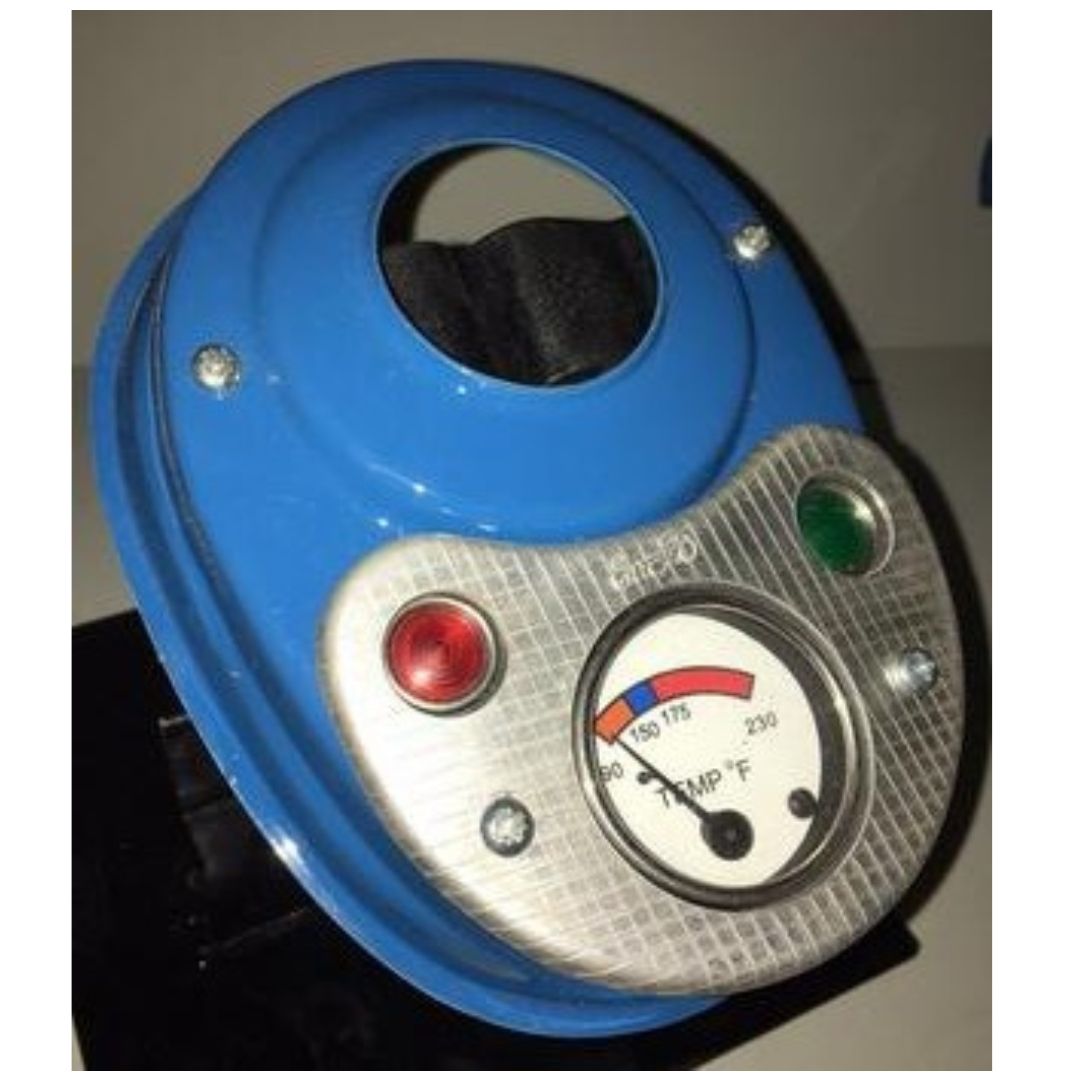
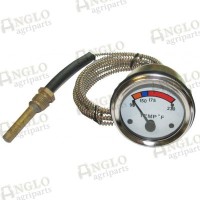
On this tractor the bulb holders had fallen apart and so new ones had to be sourced. Unfortunately at this time Anglo didn’t supply the item but it was found via eBay. There should also be a rubber seal between the silver panel and the painted panel – again missing and needing finding via eBay. Anglo do however supply the temperature gauge (A67302) which this tractor also needed. There is normally enough slack in the temperature gauge capillary tube to move the panel out of the way without disconnecting the temperature gauge.
Once the instrument panel is out of the way the four nuts holding the steering column top cap (item 5 above) are visible. The nuts (item 8) have locking tabs (item 7) that will need to be removed and then the top cap can be removed, probably along with some or all of the shims. As replacement shims are not included in the repair kit, take care not to damage them.
A magnet is helpful to remove the ball bearings. Remove the top seating ring (item 9) and then the bearings. The main steering nut can now be unscrewed and the bottom seating ring removed.
The seal (item 11) is not included in the repair kit and had been damaged by the way the steering nut had been flopping about. It is a readily available size (38mm ID, 50mm OD, 7mm wide) from online bearing suppliers.
Support the tractor with its front wheels off the ground – this is necessary so one can find when the steering adjustment becomes too tight.
Fit the bottom seating ring, screw in the new steering nut and arrange the new ball bearings in the nut’s groove using grease to hold them in place. Fit the top seating ring.
The next stage is trial and error. Fit the shims, top column cap and tighten the nuts down. Repeat this process gradually removing and adding shims (the originals will probably be of several different thicknesses) until the steering just starts to feel slightly stiff (you’ll need the steering wheel back on the nut’s splines for this.) If enough shim material isn’t taken out then the steering wheel will flop about as the bearings need to be a very close fit to hold the steering nut in place.
Finally press the locking tabs against the nuts, refit the instrument panel, steering wheel and nut.
The transformation on this tractor was remarkable with an owner taking away a machine to be safe to use on the road again.
ARTICLE CONTRIBUTED BY ANDREW CHAPMAN
© ANDREW CHAPMAN & ANGLO AGRIPARTS LTD

Licence Terms
You are free to: Share, copy & redistribute the material in original format for any purpose as long as you follow the license terms below:
- Attribution – you must give appropriate credit and provide a link to the original article in a reasonable and visible manner
- You may not in any way suggest that the licensor endorses you or your use.
- No Derivatives – The material must be distributed in full, including disclaimer, you may not distribute or share modified material.
- No additional restrictions – You may not apply legal terms that legally restrict others from doing anything the licence permits.
- No warranties are given. The license may not give you all of the permissions necessary for your intended use. For example other rights such as publicity, privacy, or moral rights may limit how you use the material.
Disclaimer
Related Articles
Fordson Dexta Restoration - David Wills
Fordson Dexta Restoration - David Wills
Fordson Dexta Service Video Tutorial - Part 1
Samuel takes us through the first stages of the service to his Fordson Dexta in this video tutorial.
Fordson Dexta Service Video Tutorial - Part 2 - How To Change A Fuel Filter
In this video tutorial Samuel changes the filter on his Fordson Dexta.
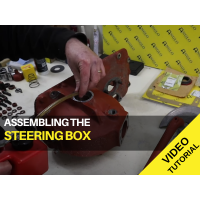
Ferguson TED20 - Assembling Steering Box - Video Tutorial
Watch Gordon's latest installment in his video series restoring a Ferguson TED20.


